Start Here -> Setup Overview
Get started with AppPresser. If this is your first time with AppPresser, we have a great article explaining the requirements to getting started with AppPresser. You need a single WordPress installation on a reliable hosting platform and make sure you have access to the WordPress API on your site.
Welcome to AppPresser. The best way to create iOS and Android mobile apps that integrate with WordPress. In this document we'll cover the basic steps you need to get going with AppPresser. Each step has it's own dedicated page where we go into detail about setting up plugins, license keys and authentication. Including how to verify you are good to go.
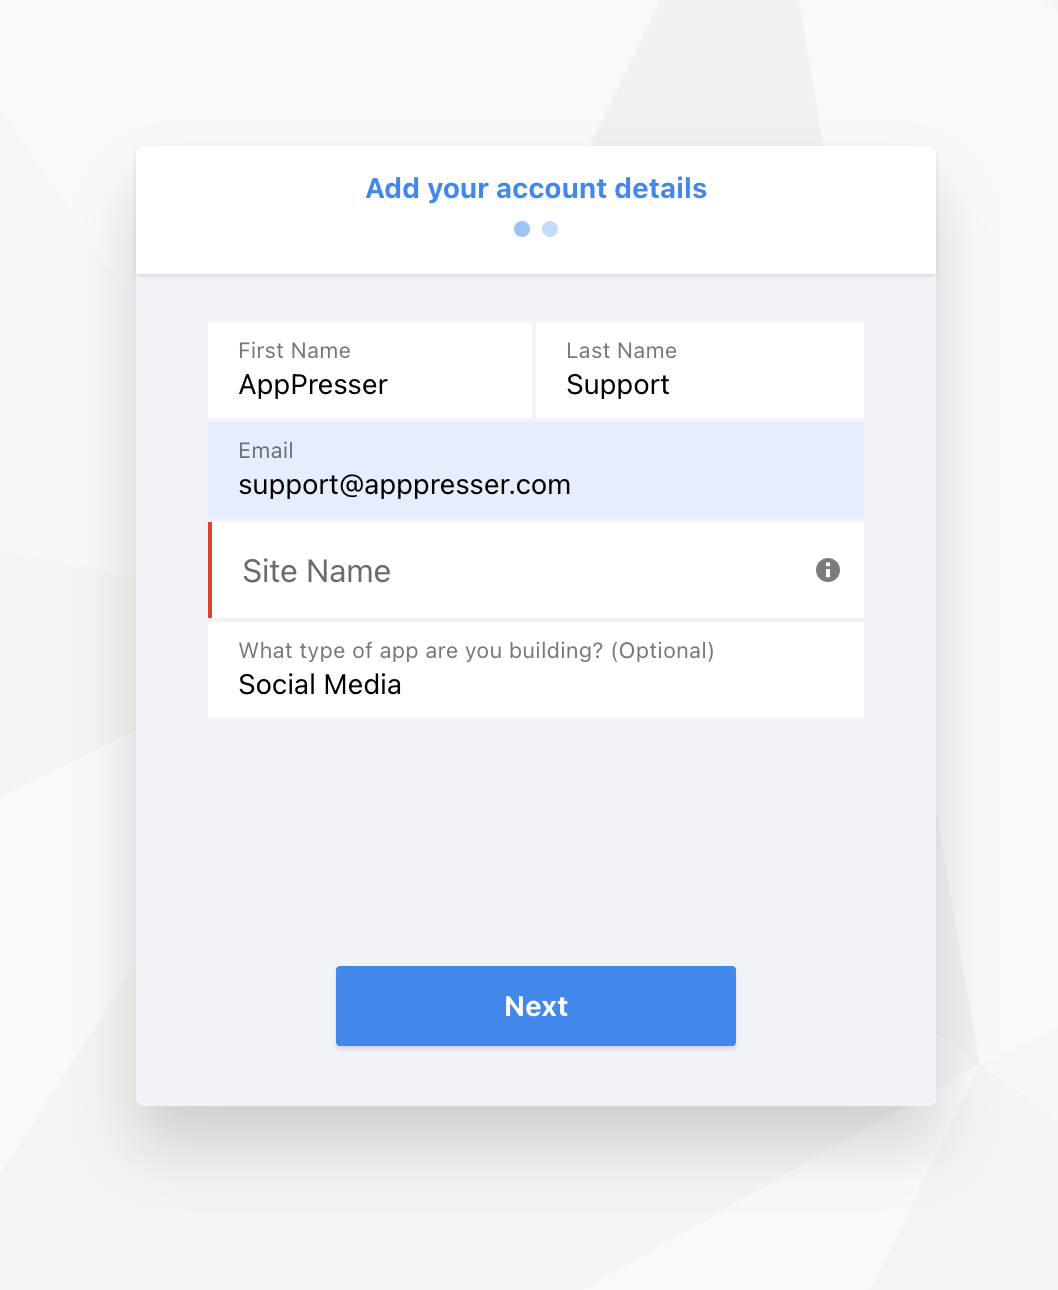
Choose your My AppPresser Site Name
-
When you went to the apppresser.com website, you selected the plan that best fits your business. During the account creation, you were asked to select your Site Name. When you have completed the sign up process, you will receive an email. It should have a link to your newly created site.

Logging into your My AppPresser account
- After purchasing AppPresser, you will receive an email with your next instructions or you can reset your password and login at https://myapppresser.com anytime.
-
When you log into your My AppPresser dashboard, you will be redirected to your site. Bookmark this URL! This is where you will find your app builder, account information, and downloads.
Example: myapppresser.com/my-site.
Once you have your account set up
- Create your first app by visiting your app dashboard (https://myapppresser.com), and click the + New App button.
- Your AppPresser account dictates how many applications you can have with us at any one time.
- Choose the options you'd like in your app, add your Full WordPress URL (including the https://), and click Create App.
- Once you have created your Application. it's time to install the necessary plugins and theme in order to connect your WordPress website to your AppPresser account.
WordPress Setup
- On your WordPress site, you need to install the necessary plugins to connect your WordPress site to the My AppPresser Dashboard and application.
- We recommend reading the complete App, Plugin and Theme Installation guide to fully connect the My AppPresser Dashboard to your WordPress website. The guide also Includes installation of AppPresser extensions for WooCommerce, In App Purchases, Plugin Blocker for debugging and more.
After your application is set up and connected to your AppPresser account, you'll be ready to Customize your application and build pages using the customizer.
Your Account
You can find your billing information on your account page inside of the My AppPresser dashbaord. Login to your dashboard, and click the account tab at the top left. Here you can modify your billing information, view account status and cancel your subscription.

Your next article: My AppPresser Dashboard Overview